3 Learnings from Sharing collective workshop with a Ph.D. in Additive Manufacturing
For almost three years, I’ve been sharing a collective workshop, Maker V-10, in Copenhagen with Antonio Esparza Glismann, a Ph.D. holder in Entrepreneurship with Additive Manufacturing from Auckland University of Technology in New Zealand and earlier Distributed Design Platform Resident. This blog post will summarize some key insights about designing for additive manufacturing (DFAM) based on our conversations and collaborations over the years.
First, a brief introduction to Antonio. Antonio’s expertise is not just theoretical. He is practically oriented and will point out when you’re making a mistake or missing an opportunity. Fortunately, he is equally generous in recommending potential solution spaces and resources, often lending books to help address specific issues. Antonio’ holistic approach to design consistently integrates business considerations, structural integrity, and aesthetic appeal.
As 3D printing becomes more common with more printed products entering the market, I’ve noticed that most of the prints I see are not optimized for this technology. Or at least not in the way I’ve learned from Antonio. Therefore here are three important lessons I’ve learned about DFAM from working with Antonio:
Think in Layers
Products are shaped by the opportunities and limitations of their production processes.
Production process influences price, durability, and aesthetics in a product. For some products, the production process becomes invisible to the consumer, while in others, it is highlighted. For instance, while we might appreciate the craftsmanship in a thick knitted sweater, the details of injection-molded products like water bottles often go unnoticed.
3D printed products are made in layers. When designing, we should consider the structures these layers allow and their thickness. In general, the trade-off in layer height in 3D printing is thought of as detail versus speed. Smaller layer heights equals higher detail but longer production time, while larger layer heights offer the opposite. A rule of thumb is that if you double your layer height, you roughly half your production time. For example, increasing the layer height from 0.1 mm to 0.8 mm can reduce production time 80%. This can be done on most desktop printers with minimal modifications required. This adjustment makes it clear that the product is produced in layers, rather than through traditional plastic production methods.

Photos from left to right: Thick Layers, Thin Layers, Applied thick layer printing – Knop lamp by Antonio Esparza
Antonio’s KNOP lamp (Stofskifte) is a great example of extending the layer heights to a point where you stop thinking about detail and it starts being a defining element in the design. By using a 2.4 mm layer height, he brings print time down to just 2.5 hours. However, this cannot be done on a standard FDM printer, which brings me to the next key point.
Extrusion Systems
There exist many different types of 3D printing. In this section, we will focus on two of the most available options, which are also very similar: FDM and FGF.
FDM, short for Fused Deposition Modelling, typically uses a spool of plastic filament a material.
FGF, short for Fused Granular Fabrication, uses plastic pellets as material. Regular filament is made from plastic pellets, meaning FGF skips the manufacturing process o creating filament, resulting in fewer limitations and cheaper material.
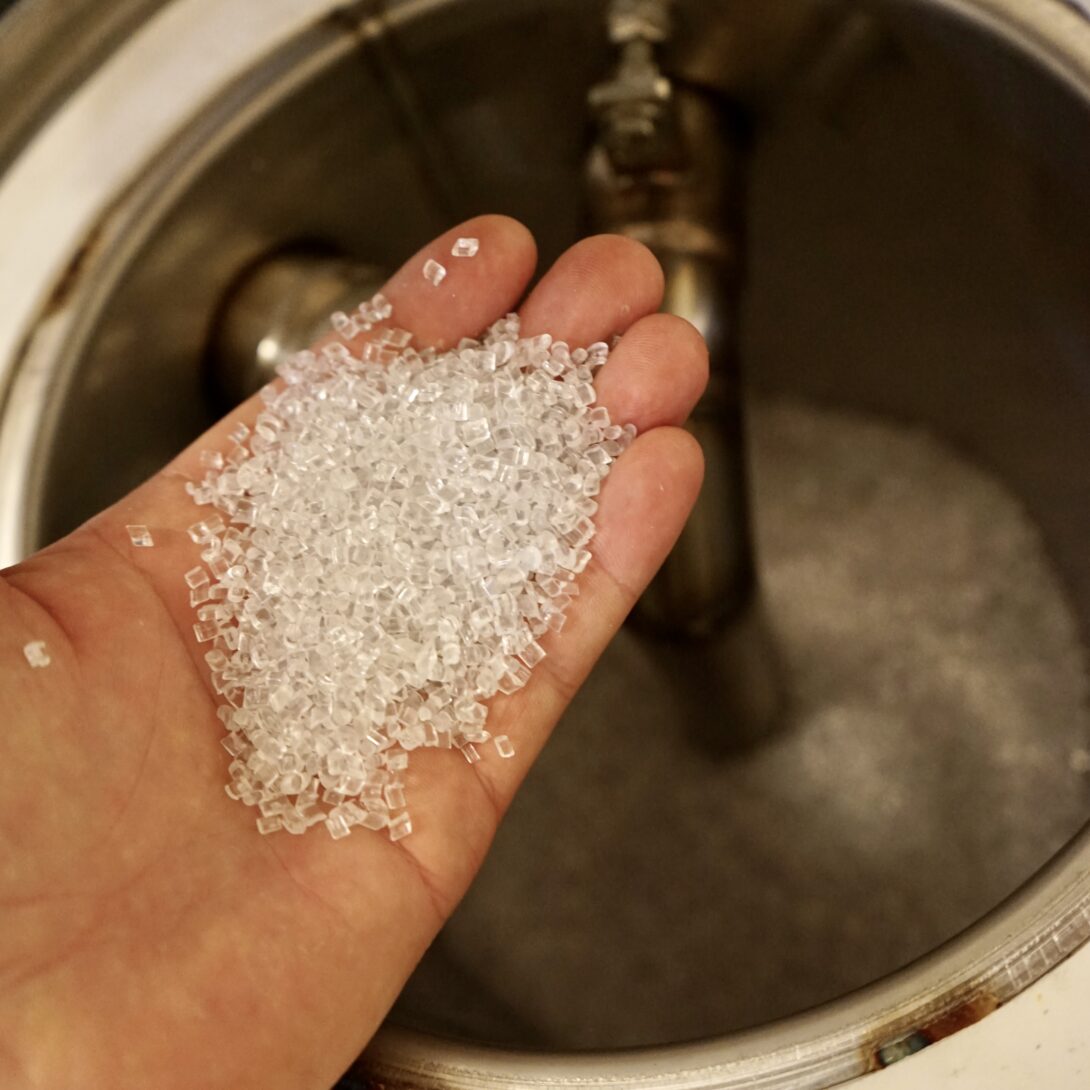
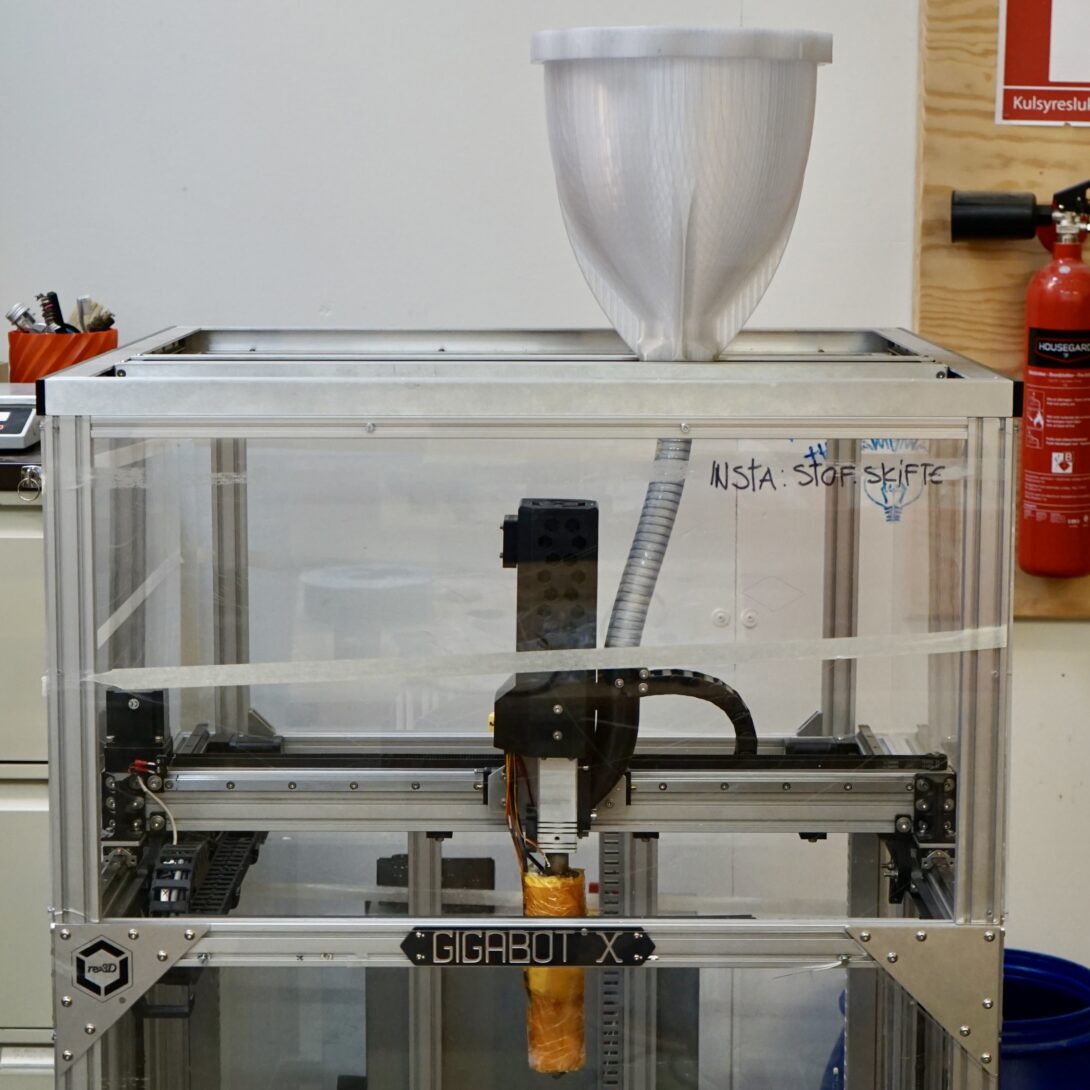
Photos from left to right: PETG filament, PETG pellets, FGF 3d printer by RE3D
FGF printing allows for experimentation with alternative materials and the creation of even thicker layers (Faster production). This flexibility opens up new possibilities for materia innovation and sustainability in 3D printing. At Maker V-10, we will be testing the possibility of shredding old 3D prints and reusing them as material in our FGF 3D printer over this summer.
There are many different options for getting started with FGF printing; you can read about some of them here.
3 Dimensions All at Once?
Even though it’s called 3D printing, the printhead typically only moves in two dimensions at a time when using slicing tools like PrusaSlicer or Cura. It might be tempting to think of this as 2D printing, layer by layer. However, even the cheapest 3D printers are fully capable of moving on all three axes simultaneously. This process is called non-planar 3D printing.
Non-planar printing opens up possibilities for new structures, enabling enhanced strength, improved surfaces, reduced print times, and much more. By understanding and optimising these aspects of 3D printing, we can exploit more of the technology’s potential, leading to better-designed, more efficient, and aesthetically pleasing products.
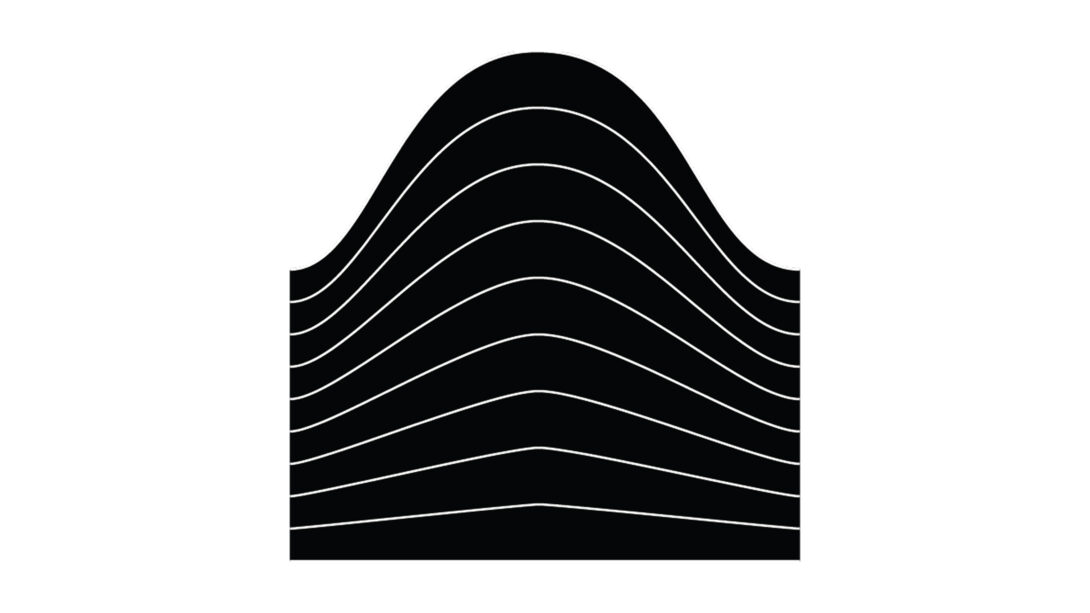

Photos from left to right: Regular layers, Non planar layers, Applied example of non planar 3d printing- Chair prototype by Antonio Esparza
So why don’t we see non-planar 3D printing more often? Today, creating the necessary G-code (code that tells a 3D printer what to do) is very complex, and even though most hardware supports it, the hardware isn’t optimized for it. However, I hope and believe we will see more non-planar 3D printing in the future.
If you want to see your 3D printer moving in three dimensions, I recommend printing the non-planar spacer designed by Andrew Gleadall. You can modify the parameters and download it here.
A community approach
Working alongside individuals with diverse expertise fosters innovation and creativity. In a community setting as our Makerspace, knowledge and experiences are freely exchanged, leading to continuous learning and collective growth.
I encourage you to join a community, engage with others, and embrace the spirit of collaboration through sharing a workshop or distributing your designs online.
Community breakfast at Maker V-10 in May